Follow this step-by-step guide to create, edit, and manage your website footer using Liquid Templates and Elementor.
Creating or Editing a Footer Template
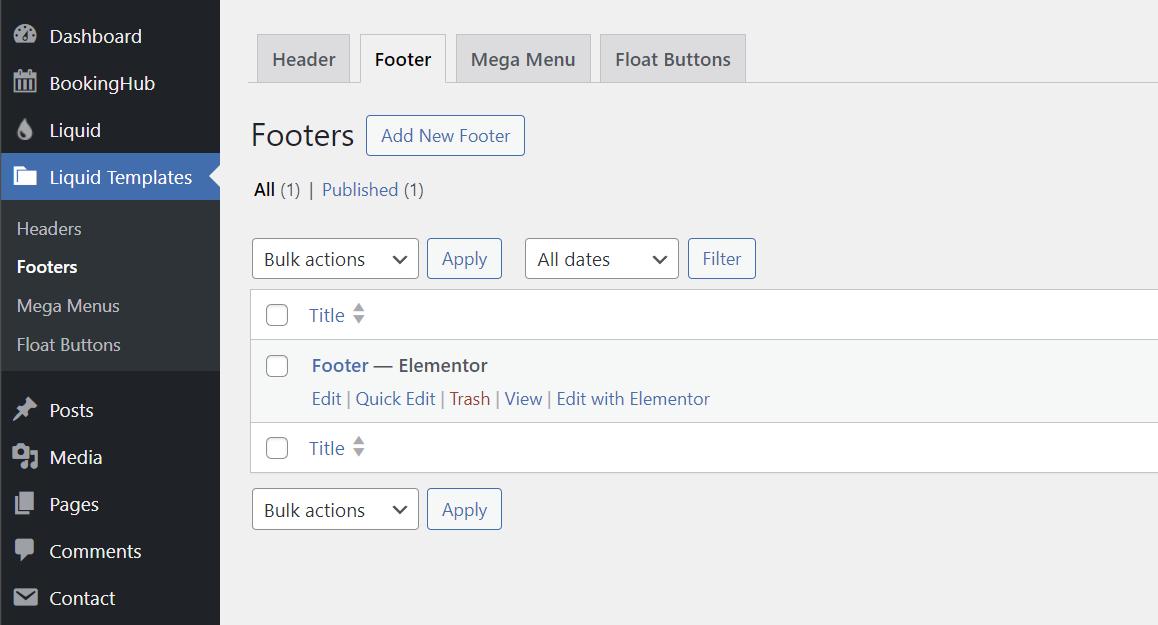
1. Go to Liquid Templates > Footers
From your WordPress dashboard, navigate to:
Liquid Templates → Footers
Here, you will see a list of available footer templates.
2. Click on Edit with Elementor
If you already have a footer, click Edit with Elementor.
If you don’t have one yet, click Add New Footer, publish it, then click Edit with Elementor.
Importing a Pre-built Footer Template (Optional)
3. Once Elementor opens
If you already have a footer, you’ll see its content in the editor.
If it’s empty, you can import a ready-made footer template.
3.1 Click on the HotelHub Collections icon
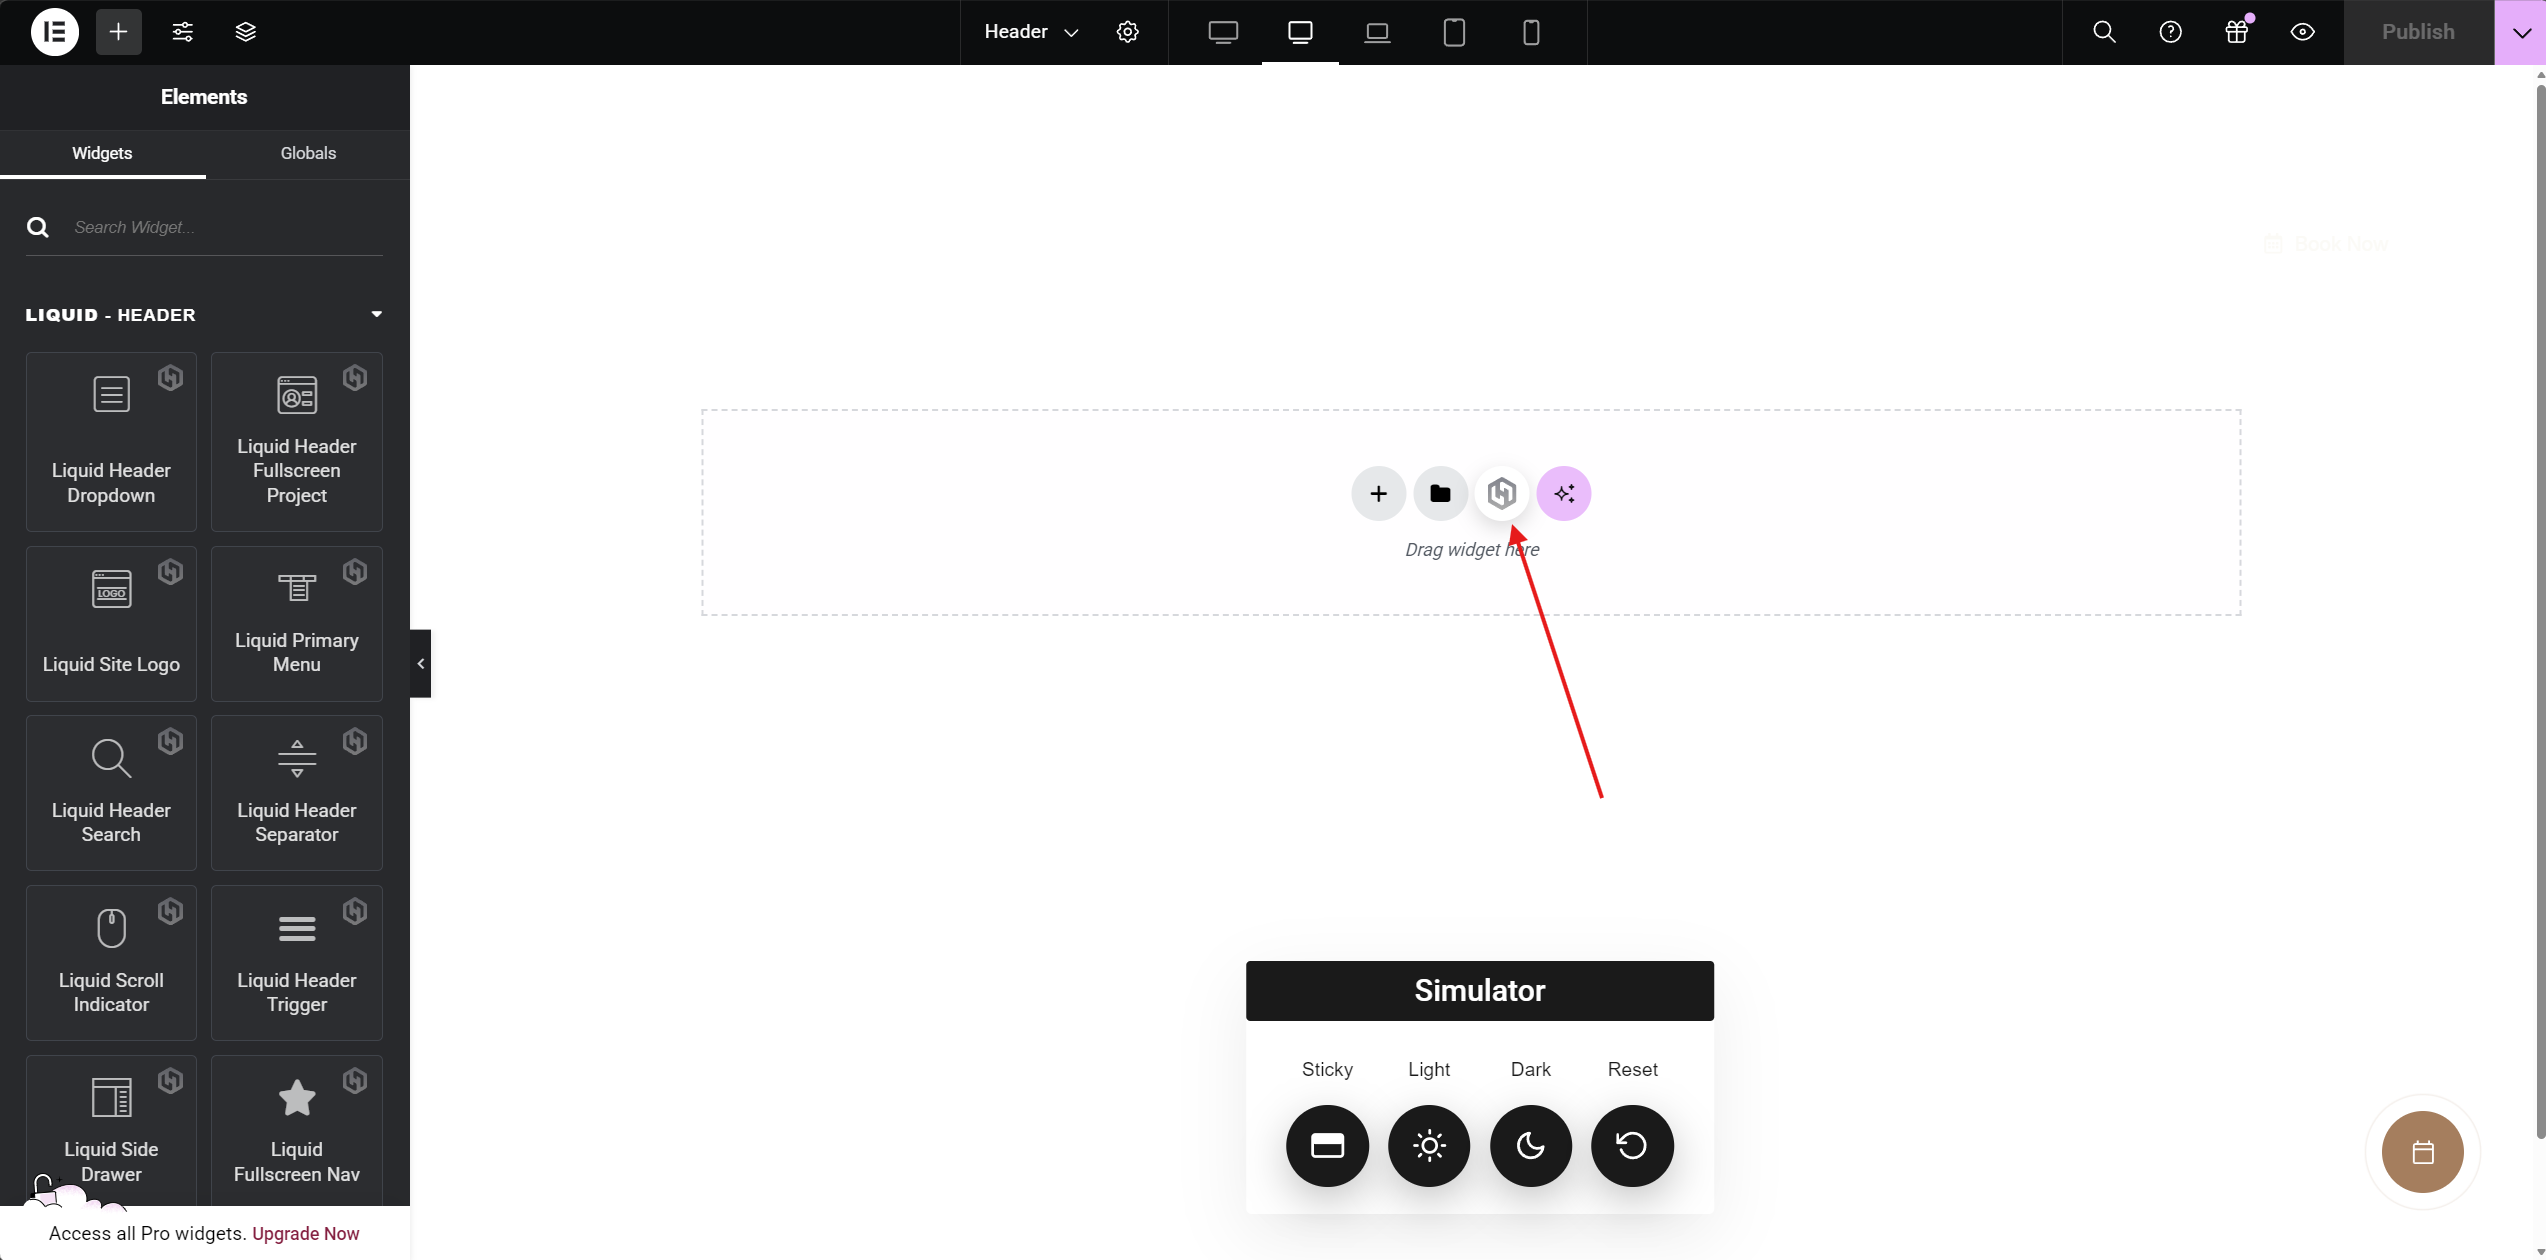
Open the template library by clicking the HotelHub Collections icon inside Elementor.
3.2 Select Footers from the category filter (top-left)
Use the category filter to display only footer templates.
3.3 Import your preferred footer template
Choose the design you like and import it into your page.
Editing the Footer Layout
4. Customize the footer in Elementor
You can freely edit:
Column structure
Logo
Menus
Contact details
Social media icons
Copyright text
Background colors
Spacing and alignment
Use Elementor widgets and Liquid elements to structure your footer as needed.
Adjusting Footer Design Options
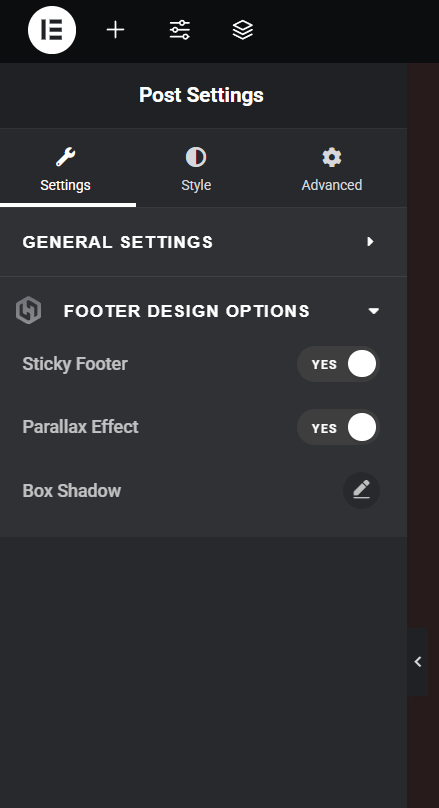
5. Click the Post Settings icon (top-left in Elementor)
This opens the footer template settings panel.
6. Switch to Footer Design Options
You will see the following options:
Sticky Footer
Keeps the footer fixed at the bottom of the screen.Parallax Effect
Adds a parallax scrolling effect between the content and the footer.Box Shadow
Adds a shadow effect to visually separate the footer from page content.
Adjust these settings according to your design preference.
7. Click Publish
Your footer template is now ready.
How to Change Footer Site-Wide (Global Footer)
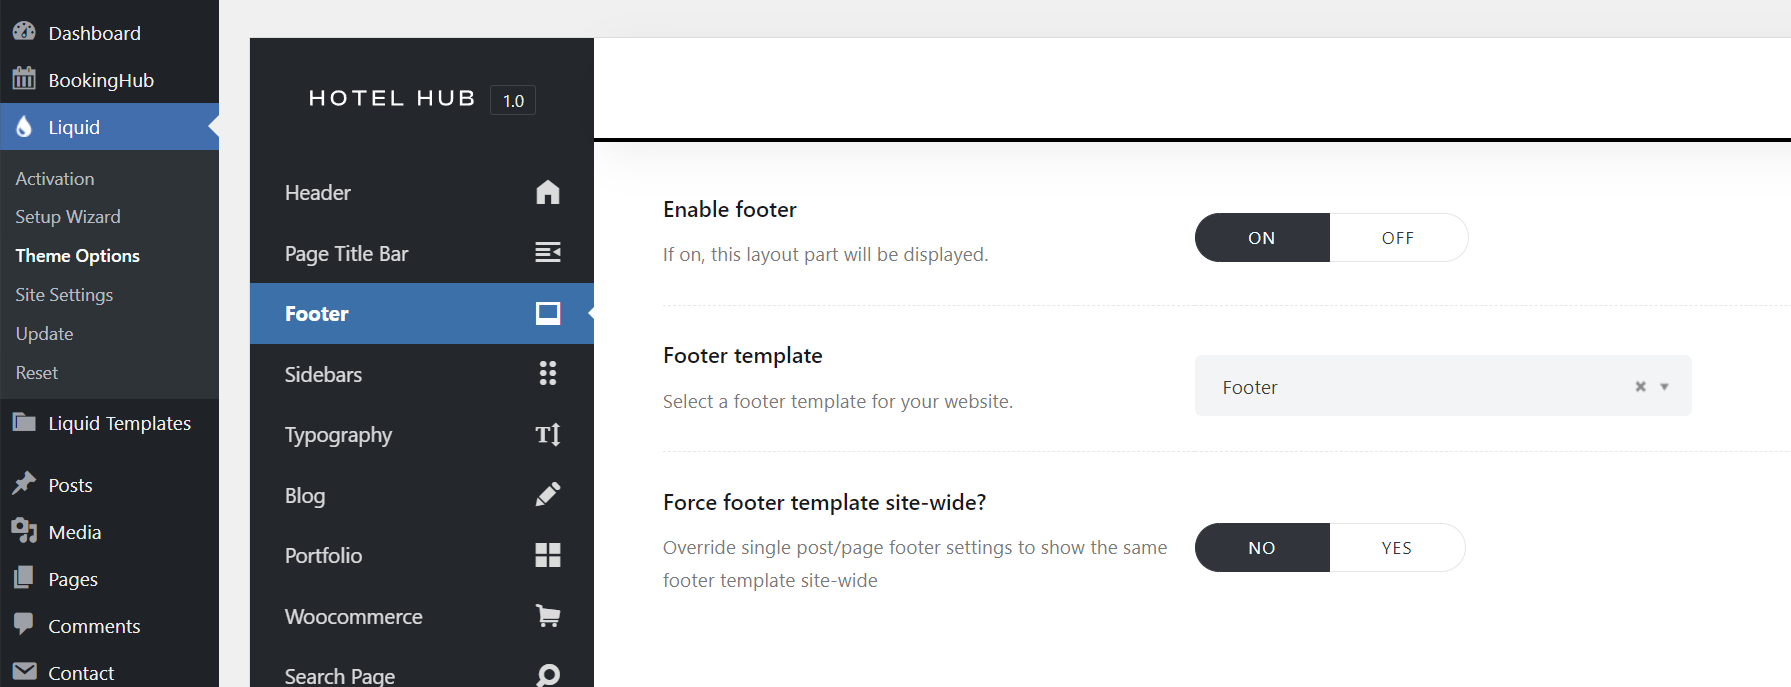
1. Go to Liquid → Theme Options → Footer
This section controls global footer behavior.
2. Review the available options:
Enable Footer (ON/OFF)
Enables or disables the footer across the entire website.Footer Template
Select which footer template will be used site-wide.Force Footer Template Site-Wide
Overrides individual page footer settings and applies the selected footer template globally.
3. Select your footer template
Choose the footer you created from the Footer Template dropdown.
4. Save Changes
After saving, the selected footer will be applied across your website.
How to Change Footer for a Single Page
If you want to assign a different footer to a specific page:
1. Open the page with Elementor
2. Click on Page Settings
3. Switch to the Page Footer Options tab
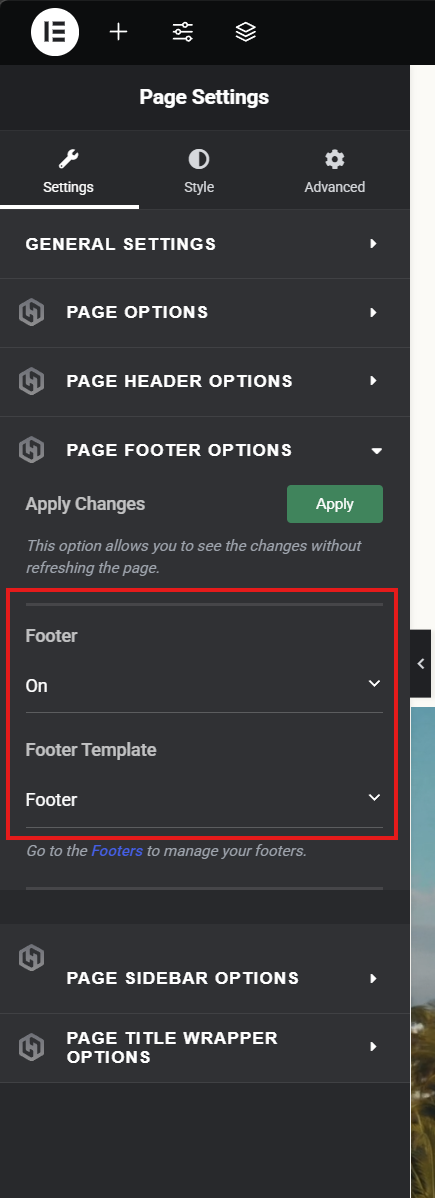
4. Change Footer from Use Global Settings to On
5. Select the desired Footer Template
Once enabled, the Footer Template dropdown will appear below.
6. Save / Update the page
That’s it! The selected footer will now be applied only to that page.
You can create multiple footer templates (minimal footer, extended widget footer, landing page footer, etc.) and assign them globally or per page depending on your needs.